Editing a Visit
To edit a Visit, for example transfer it to another Queue, follow these steps:
1. On the Start Screen, select Edit Visit.
2. In the Identify Visit banner, you can find a Visit by the following means (all may not be available, depending on how your system is configured):
• Id - Search for the Visit, by entering a Visit ID/Appointment ID in the Search field.
• Scan QR. The prerequisites for the use of a QR code is that a QR code is included on the ticket layout, which is created in the Surface Editor. For more information, see the Administrator’s Guide, found on Qmatic World. The supported QR code types are Ticket id and QR Code.
3. When the wanted Visit is found, the banner will be expanded and you can (depending on how your system is configured) select one of the following options, all described in more detail below
• Transfer to Queue
• Transfer to Staff Pool
• Transfer to Service Point Pool
• Delete
Transfer to Queue
After you have found the wanted Visit, tap this button to transfer the Visit to another Queue:
A Transfer to Queue banner, showing available Queue Names, their Waiting Time, and number of Customers in line will be expanded:
Here, select the wanted Queue and then if the Visit should be transferred:
 First in line
 Based on Waiting Time
 Last in line
.
You will be asked to confirm the action and then get the following confirmation:
Transfer to Staff Pool
After you have found the wanted Visit, tap this button to transfer the Visit to a Staff Pool:
A Transfer to Staff Pool banner, showing available Staff Pools, the name of the Staff Members as well as their User Name will be expanded. Logged in Staff members that are logged in to a Service Point where a Visit can be called (i.e not a Concierge Service Point), in your Branch will be displayed:
Here, select the wanted Pool. You will be asked to confirm the action:
When you click Yes, you will and get a confirmation message that the Visit has been transferred.
Transfer to Service Point Pool
After you have found the wanted Visit, tap this button to transfer the Visit to a Service Point Pool:
A Transfer to Service Point Pool banner, showing available Service Point Pools, will be expanded. You will see the Service Point name as well as its State, i.e if it is Open or Closed.
Here, select the wanted Pool. You will be asked to confirm the action:
If the Visit is already being served by another Staff member, you will be notified about this.
When the Visit has been transferred, you will get a confirmation message.
Delete
After you have found the wanted Visit, tap this button to delete the Visit:
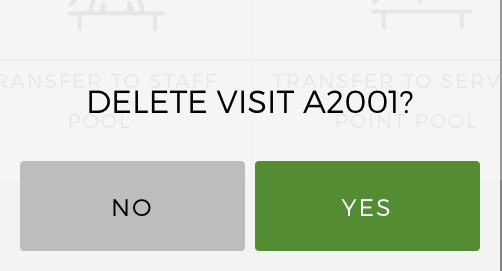
You will be asked to confirm the deletion:
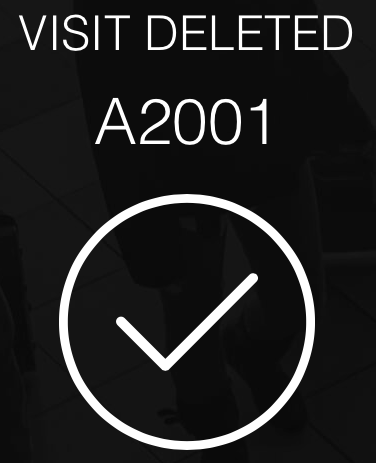
Then, you will get a confirmation message when it has been deleted:
Add multiple Services to one Visit
To add multiple Services to one Visit, follow these steps:
1. On the Start Screen, select Create Visit.
2. In the Specify Service banner, choose the Service for your Visit.
3. Next, you need to tap the Specify Service banner again, to return to the list of Services.
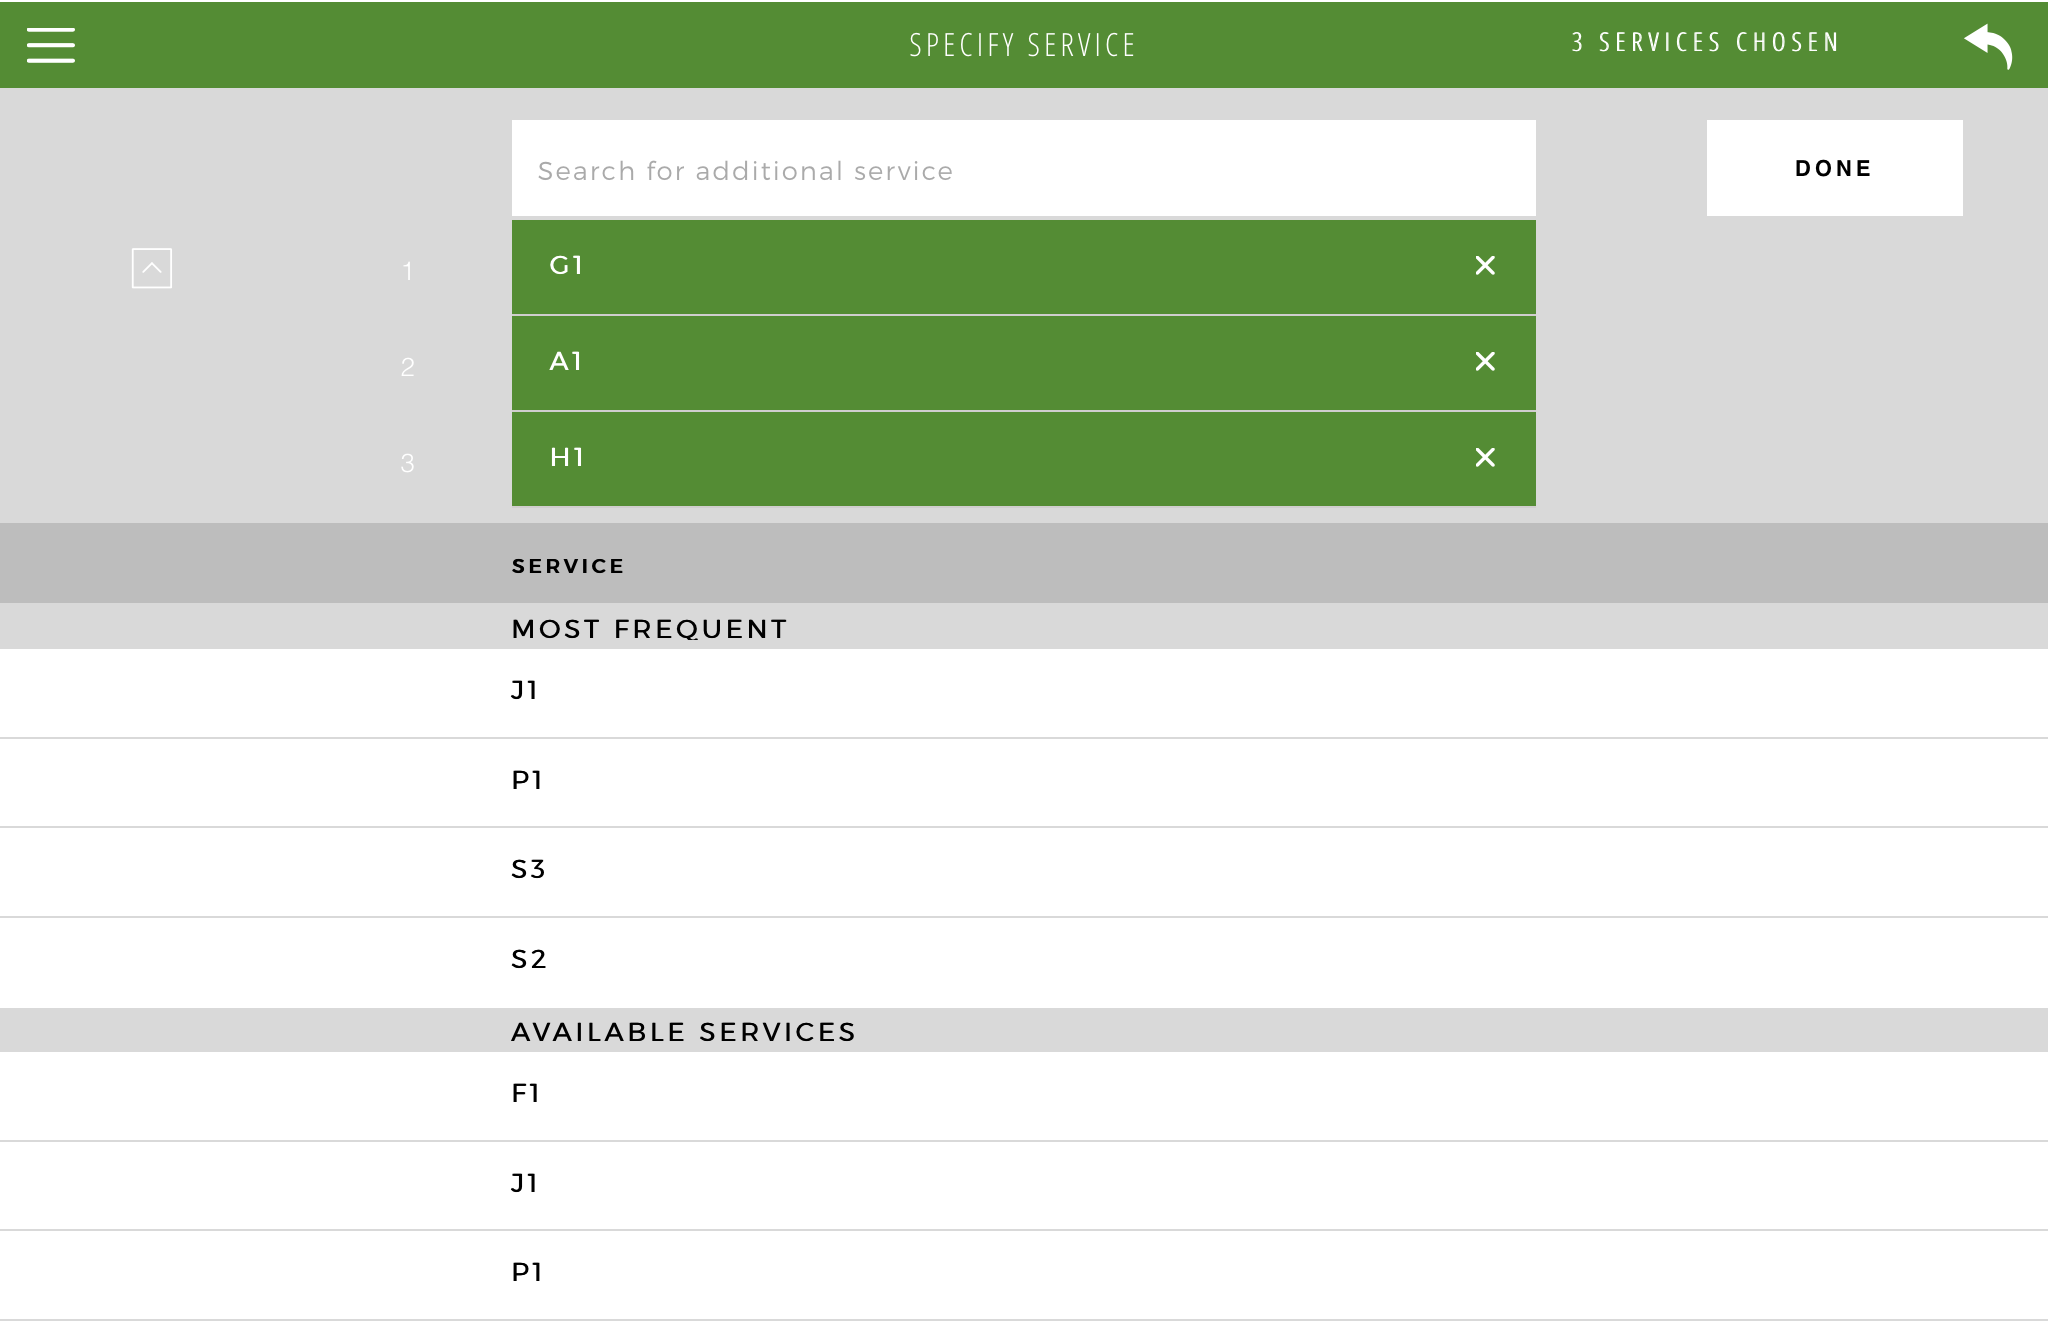
4. Search for and select additional Services from the list:
You can delete Services from the list of selected Services, by tapping the X to the right. You can also rearrange the order of the Services, by dragging and dropping them, in the list.

You can add a maximum of 5 Services to the list.
There is an expand/collapse icon,

/

next to the list of selected Services.
5. When satisfied with the complete list of Services, tap Done to confirm your change and continue the current flow.