Creating a Visit
When creating a Visit, follow these steps:
1. On the Start Screen, select Create Visit.
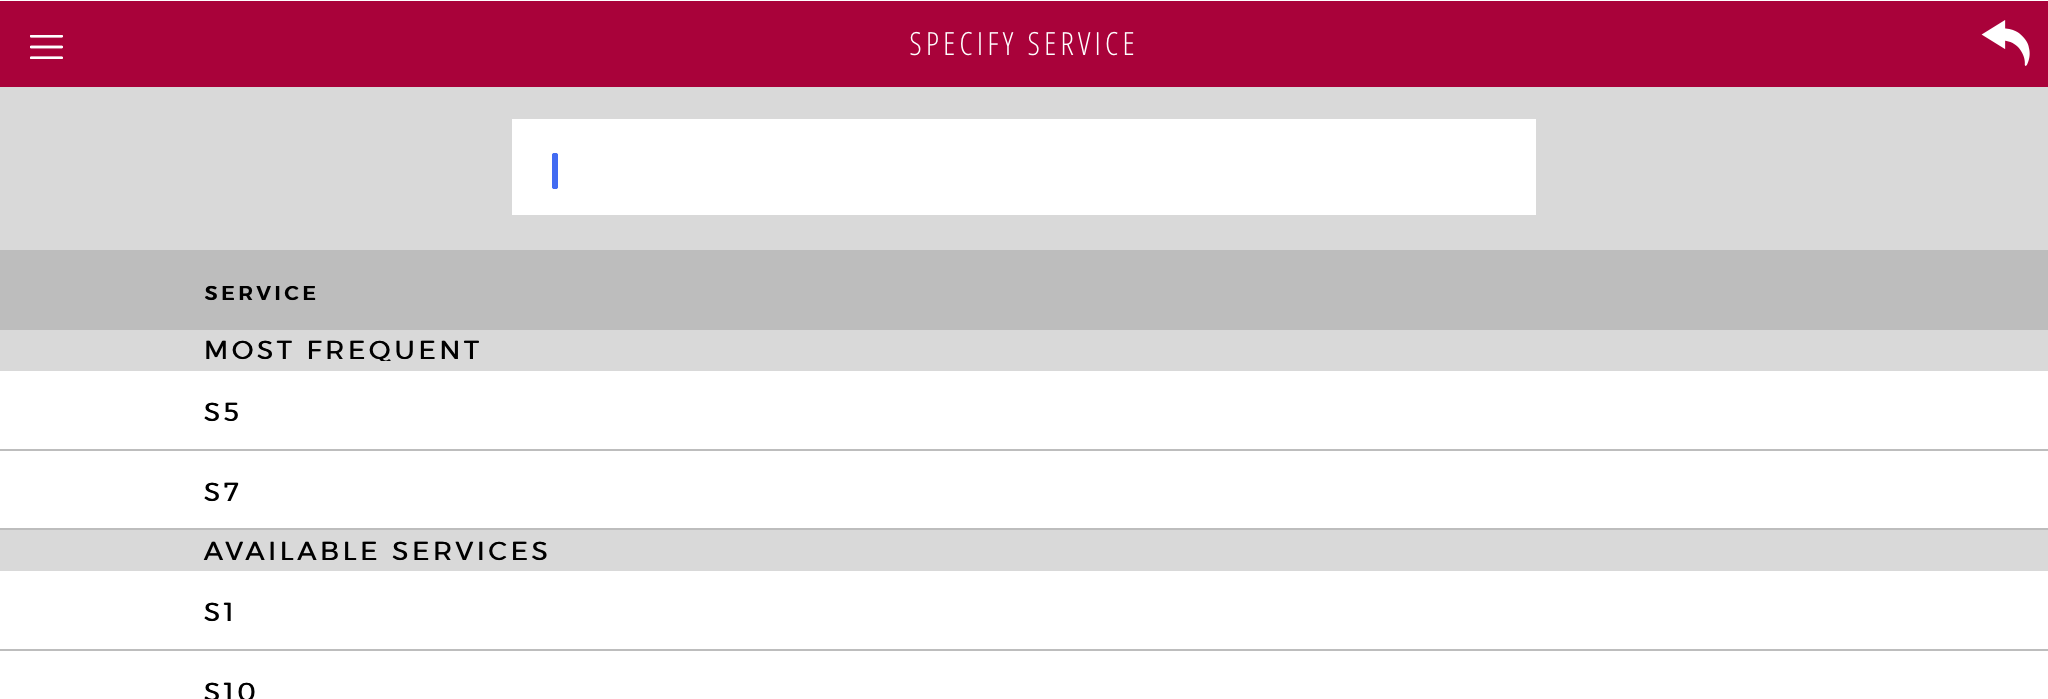
2. In the Specify Service banner, search for a Service. The search will begin once you have entered two or more characters in the Search field. The found Services as well as the Most Frequent Services are listed below the Search field. Tap the row of the wanted Service to select it.

It is possible to add several Services (Multi-Service), by tapping the
Specify Service banner again and selecting another Service. For more information, please see
“Add multiple Services to one Visit” .
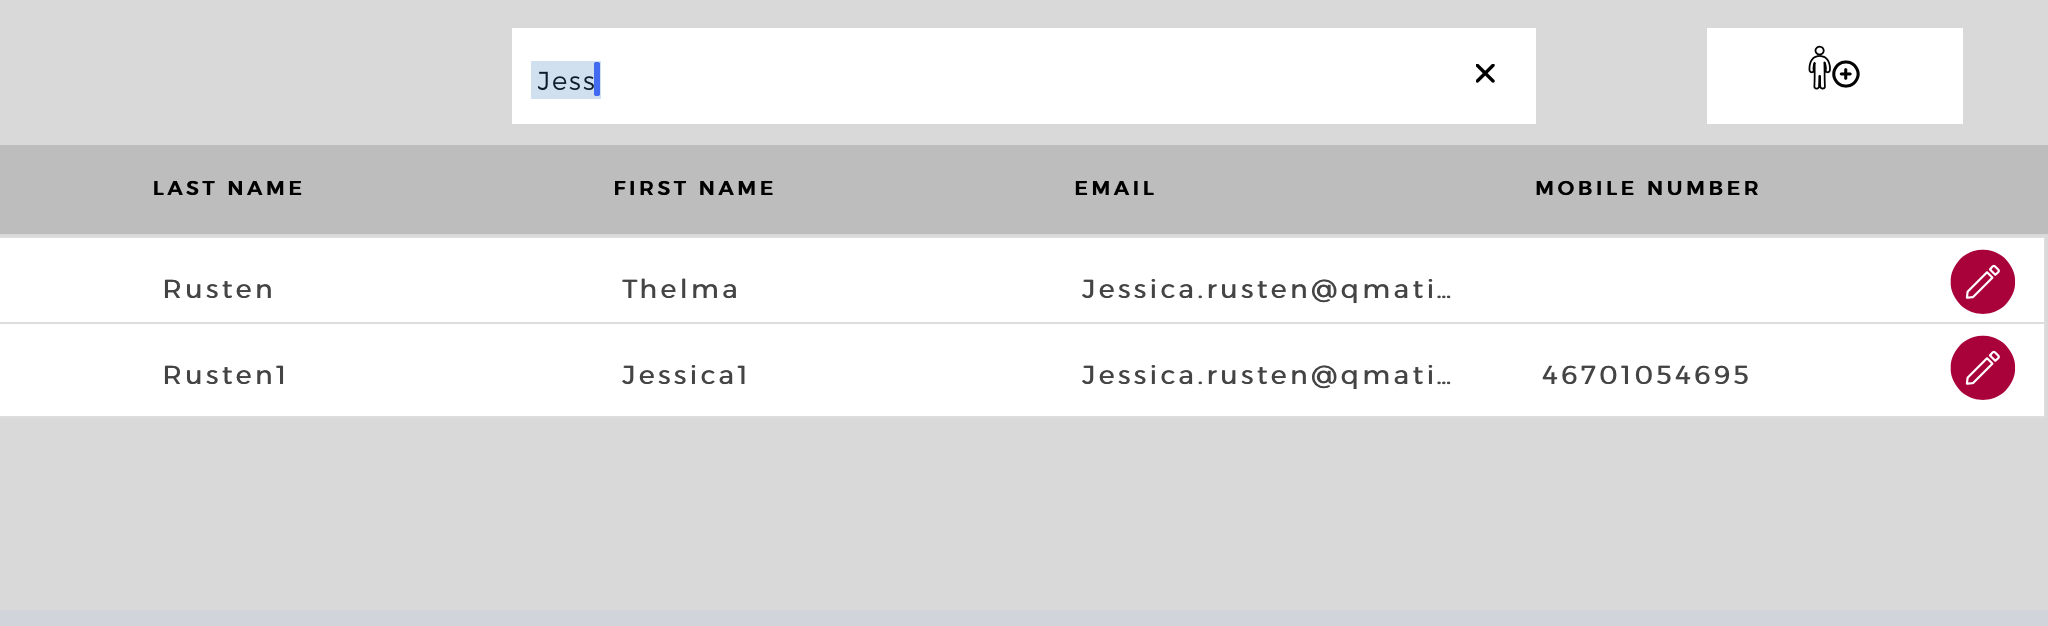
3. Optionally, you can now open the Identify Customer banner to search for a Customer to add to the Visit. Here, you enter the first name, last name, email or phone number of the Customer to find him/her. If less than 4 characters are entered as search criteria, it will be an exact match, e.g. if you enter "Per" only exact matches for users with first or last name Per will be displayed, not persons with for example last name Persson. After 4 characters are entered, however, a complete search will be performed.
For phone numbers, a minimum of 5 characters must be entered before the search commences.
You can also create a new Customer record here, see
“Creating a Customer” . The created Customer will automatically be added to the Visit. Here, it is also possible to edit a Customer record, for more information see
“Editing a Customer” .
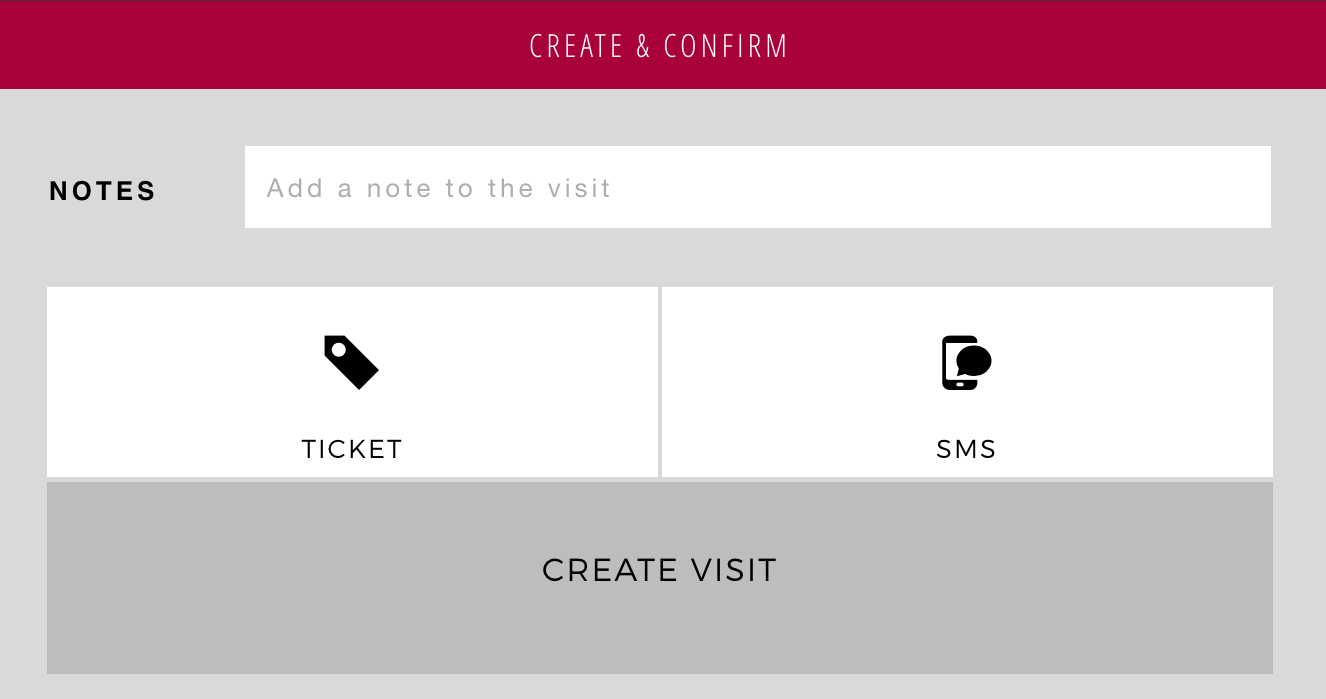
4. In the Create and Confirm banner, optionally, add a Note to the Visit. Here, you can tap Ticket to print a ticket for the created Visit and/or tap SMS to send an SMS to the identified Customer.
Depending on how your system is configured, both the
Ticket and
SMS buttons may not be available.
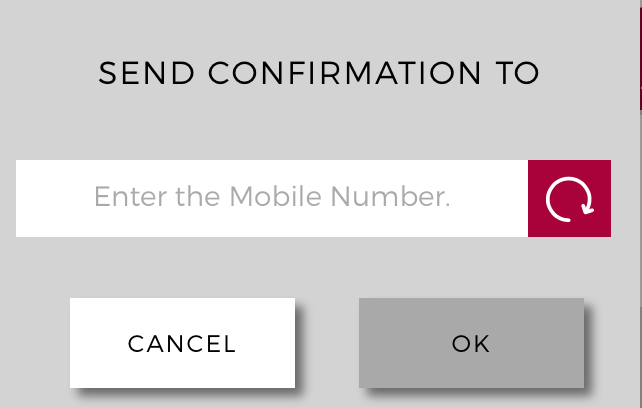
5. When done, tap Create Visit. If you have selected SMS, you will be asked to enter/update a phone number. This may be a phone number that is temporary, i.e it should not be saved to the Customer record, but you can also decide to save it to the Customer record, by tapping the Update icon, in the popup:
The
Update icon changes when it has been tapped.
If you selected Ticket, a ticket will be issued and if you selected SMS, the Customer will receive an SMS with the Visit details. The contents of the SMS message is defined in the Notification application, in Orchestra. For more information, see the Orchestra Administrator’s Guide, found on Qmatic World.
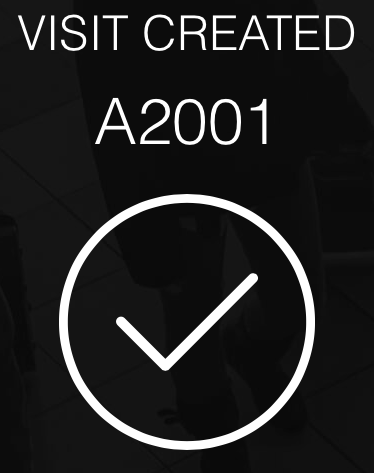
You will get a confirmation that the Visit has been created and information about its ticket number:
Creating a Customer
When you are creating a new Visit and choose the Service you work with, you have the option to create a new Customer. This option is found in the Identify Customer banner. Follow the steps here to create a new Customer:
1. Open the Identify Customer banner.
2. Tap the following icon on the right side, to create new Customer:
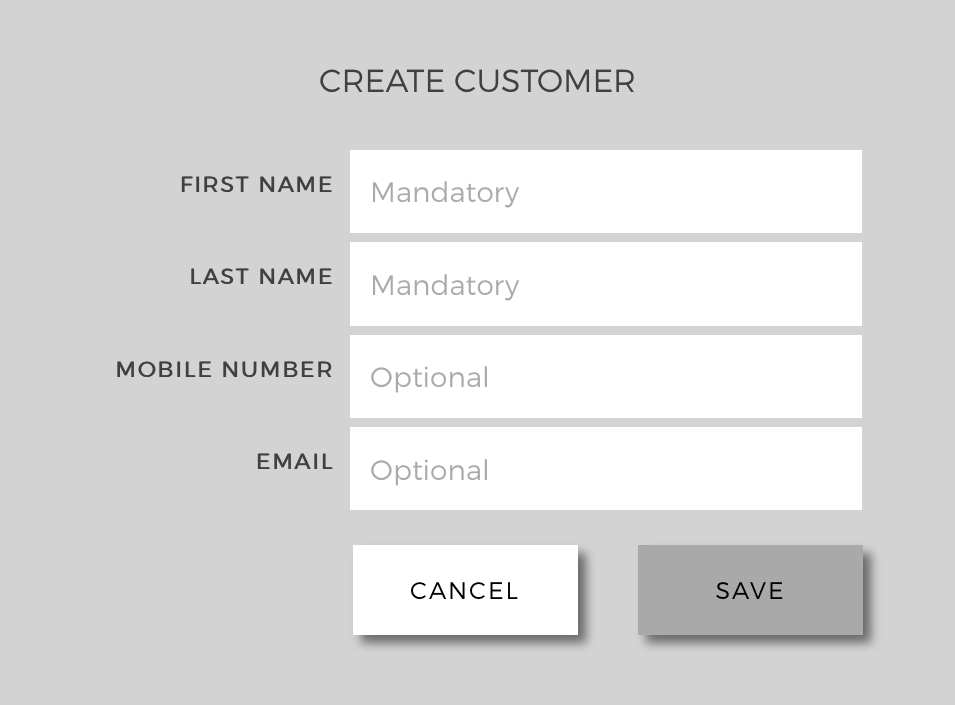
3. In the Create Customer window, enter the following information:
• First Name - mandatory.
• Last Name - mandatory.
• Mobile Number - optional. Mobile number, including country code. Should only contain numbers 0-9, no plus signs, dashes, slashes, or other characters.
The country code is entered in the unit type(s), but can be overridden in this window.
• Email - optional.
Tap Save to create the new Customer.
Editing a Customer
To edit a Customer:
1. Find the wanted Customer in the Identify Customer banner.
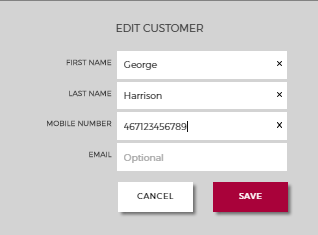
2. Long press on the wanted Customer in the list, or tap the

icon, to the right. The
Edit Customer window will be opened:
Here, you can add new information and/or update the already entered information for the Customer and then Save the Customer record.